This piece of writing shall apprise you of the convenient methods to move Quickbooks Desktop file to online:
Do you want to migrate your QuickBooks desktop file to QuickBooks online? We are here with a guide to walk you through the process to successfully move/export your company file to QuickBooks online. It is very much important to check whether you should migrate to QuickBooks online or not. Both online and desktop are powerful versions, but it all depends on your requirements. Large companies generally have complex company file, and therefore they aren’t a good candidate for migration.
If you are a small or medium-sized company and using QuickBooks Desktop, Premier, Pro, etc. then you can simply migrate to QuickBooks online. Here is what all you would have to do!
Steps to Move/Migrate Your QuickBooks Desktop File to QuickBooks Online
Checkout these updated steps to move your QuickBooks desktop company file to Online:
Step 1: Prepare for Migration
Are you all set to migrate? Have you made the necessary preparations? Before you start with the actual migration, there are certain steps that you should follow:
(a) Backup your company file
- If you are currently operating in multi-user mode, navigate to the File menu and select the Switch to single user mode option.

- Next, go to File menu and click on Back up Company and choose Make a Local Backup.

- Click on local backup and hit Next.
- Now click on browse option and select location where you want to save the backup company file.

- Set the number of backups that you want to keep.
- A test would run to ensure that your backup file is appropriate.
- Hit OK when you are all set to proceed.

- Choose save it now .
(b) Updating QuickBooks Desktop
- Open the QuickBooks Desktop software.
- Further head to Help tab and click on Update QuickBooks Desktop.

- Click update now button.

- Select get updates.

- Switch to single user mode, select file, if you are not in single user mode.
- The next step is go to file tab and hit exit.
- Now Reboot QuickBooks desktop.
- Lastely run the payroll, if you have.
(c) Export your reports and lists
- Head to the reports menu and choose report center.

- Moving a head, find and open any report.
- Also, choose the desired date range from the dates drop-down menu.
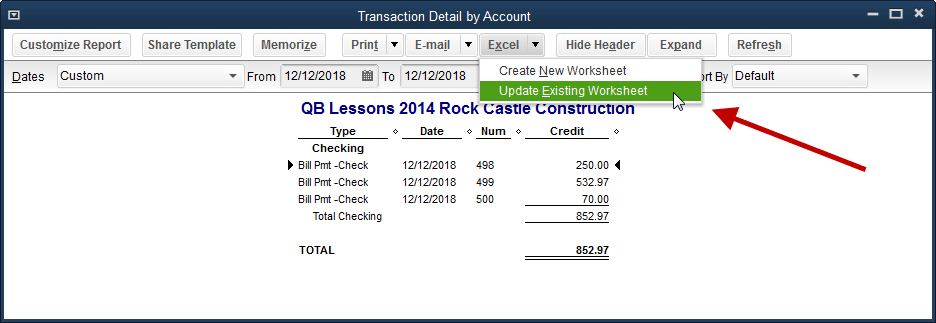
- Now, select excels on the toolbar.
- Select print or email to save the report as a PDF.
- Choose create new worksheet to create a new excel workbook.

- To update an existing workbook with the data in the open report and select update existing worksheet.

- Choose browse and locate the workbook on your computer.

- To format the data a specific way, then select advanced.
- Check and un-check the space between columns, hit OK button.
- Hit on the OK when you are ready to export.
Step 2: Import Your Desktop File to QuickBooks Online
Now that you are all set to migrate your data to QuickBooks online, below are the steps to follow:
QuickBooks desktop pro or premier
- Access the company file that you wish to import by logging in as an administrator.
- Further head to the company menu and choose export company file to QuickBooks online.

- Select the tab labelled ‘get started‘.

- Click on the select destination, and sign in to QuickBooks online account.

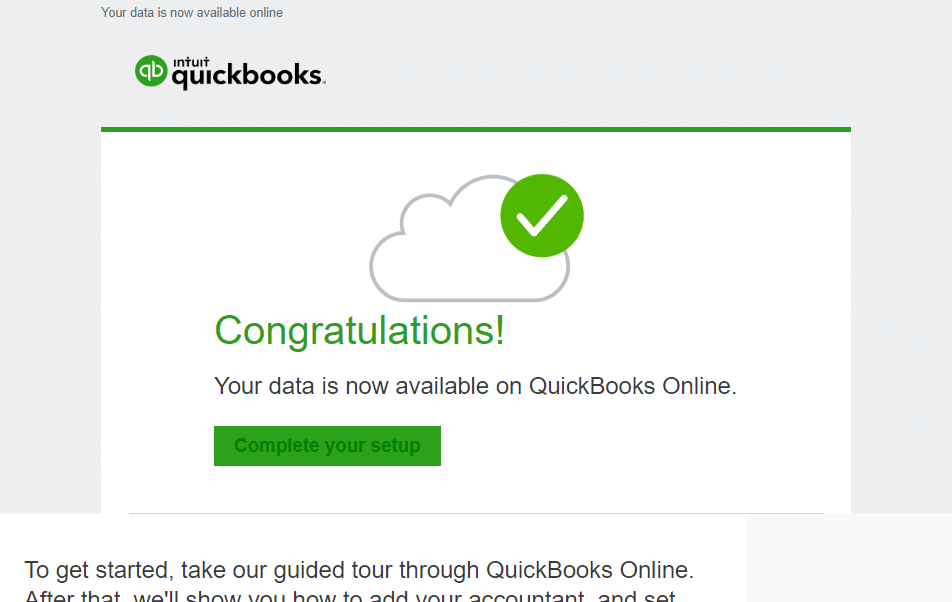
- You will get success message i.e. Your data is now available on QuickBooks online.

Just in case you track your inventory in QuickBooks desktop, follow the below steps:
- Go for the Yes option to bring them over and specify the starting date.
- Pick No option, if you want to set up the new items later in QuickBooks online.
- After conversion is complete, you will get an email, where you have to click on complete your setup tab.
- Sign in to your QuickBooks online account.
- Choose the company file that you want to open.
This will open the QuickBooks online dashboard.
QuickBooks desktop enterprise
- Log in as admin of the company file you want to import.
- Press the Ctrl + 1 keys to access the product information window.

- Now, press the Ctrl + B + Q keys together and hit OK button.
- Opt for start your export on the export window.
- Sign in as admin to QuickBooks online company.
Just in case you track inventory in QuickBooks, then perform the below steps:
- Choose the Yes tab to bring them over and specify the as of date.
- Choose No if you want to set up new items later in QuickBooks online.
- Go for the choose online company drop-down and pick the QuickBooks online company to replace.
- Select the continue tab and hit enter on agree tab and choose replace.
- At last press yes, go ahead and replace the data and click on replace.
Step 3: Move your Lists
In above steps you have moved your lists from QuickBooks, so as to import them in QuickBooks online. You will have to perform the necessary steps for chart of accounts, products and services, customer and supplier individually.
Steps to set up inventory
- At first, setup inventory by heading to the settings menu.
- Then opt for account and settings.
- Select the sales option there.
- Further, go for edit tab in the product and services section.
- Turn on the show product/service column on sales forms.
- Turn on both track quantity and price/rate and track inventory quantity on hand.
- Choose the save tab and click on done.
Step 4: Connect to QuickBooks Online and Import Your Data

- Log in to QuickBooks Online by entering your credentials, agreeing to the terms of service before selecting the sign-in option.
- Just in case you have inventory in your file and are trying to import from QuickBooks Desktop 2016 or later, you might see a different screen; otherwise, you can skip to the next step.

Want to import inventory? If Yes, then you will have the Plus or Advanced Edition of QuickBooks online. Note that Simple Start and Essentials don’t have the inventory tracking feature. However, if you have an extensive inventory, then in such a scenario, you can track the product item quantities on hand in Plus or Advanced.
3. Now you are required to pick the QuickBooks Online company that you wish to import your data into, or create a new one.
Note : Make sure, if you have already created a QuickBooks Online company, then you need to avoid creating a new company. You just have to do is select one you created from the drop-down.
4. At last go for the ok, got it option.

You would be getting an email confirmation, after the import process completes. Whereas, this could also take up to 24 hours.
Step 5: Do it Before Using QuickBooks Online
Once you are done with the above steps, there are a few tasks that you would have to perform before starting with the QuickBooks online software. Before you make your mind for any changes to the data or enter the new transactions, it is recommended to complete the following steps. Users are suggested to go through the below checklist after migrating, so as to ensure that all of the data transferred as expected, and also for importing information that wasn’t included in the migration.
1. Start off with checking the data by comparing the reports: You are supposed to compare the below reports in QuickBooks Online and in QuickBooks Desktop, so as to ensure that the data was transferred properly.
2. Checking the company settings: Even though you are able to move the accounting data into QuickBooks online, the information like the company name, address, and email related information isn’t carried along. It is recommended to enter the information manually.

3. Configuring the sales tax settings is the next step: It is very much essential for you to set up QuickBooks Online with the appropriate CRA business number and filing frequency before starting with its use.
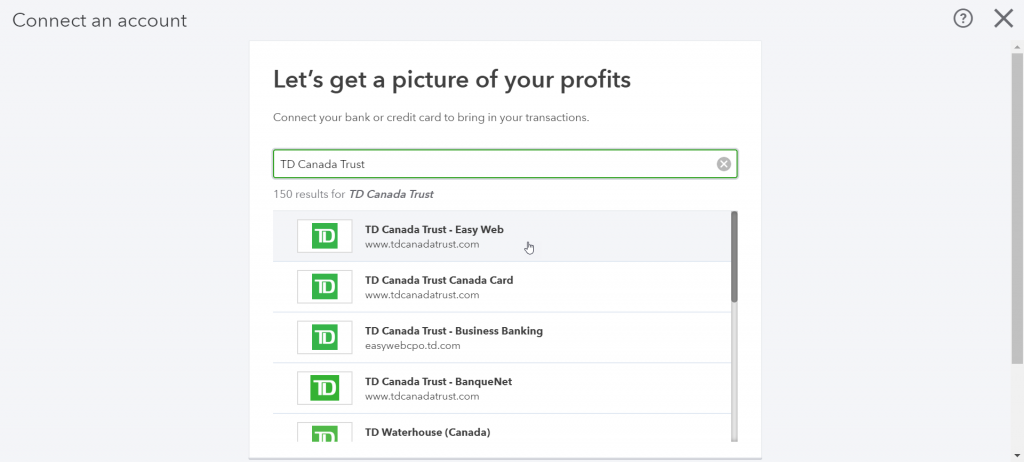
4. Connecting bank and credit card accounts: Most important point to be noted here is that the bank and credit card information isn’t transferred when migrating from QuickBooks Desktop to QuickBooks Online.

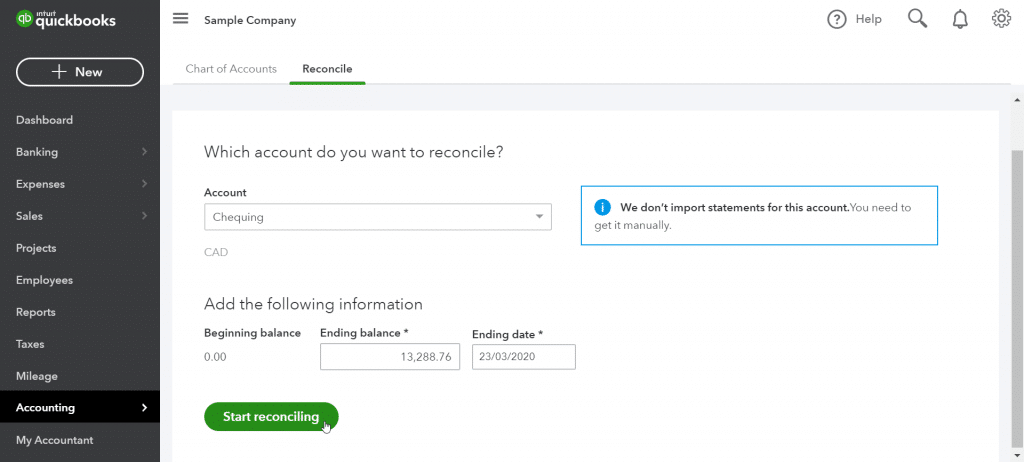
5. Cleaning up bank reconciliations: It should be noted that it is assumed that no bank transactions have been reconciled, as you haven’t yet performed a bank reconciliation in QuickBooks Online.

You are supposed to convey QuickBooks to mark all transactions up to the conversion date as reconciled, so it only considers the future transactions for reconciliation.

6. Linking payments and credits for opening invoices: You might come across the names having zero balances in the A/R and A/P aging reports, this is due to the transactions downloaded into QuickBooks Online didn’t link invoices with the respective payments. You can link credits and payments for opening invoices with much ease, by simply turning on the automatically apply credits preference.

7. Reviewing the account’s detail types: Once the conversion takes place, the software will keep the sub account hierarchy. Whereas, it will also make use of an additional level of account typing which can be named as detail type. This basically permits to be more specific with the account organization. The process of conversion will assign detail types of accounts where the detail is obvious. For the accounts, where you are unsure of the detail type, the conversion process will assign them a generic detail type, which can be like Other Miscellaneous income. You can correct this later on.

8. Carrying out the payroll setup: However the transactions and payroll accounts are converted to balance the books, but the details behind the transactions which includes the payroll item breakdown or employee year-to-date numbers, aren’t a part of it. Moreover, the liability refunds, adjustment transactions nd opening balance transactions that hamper the accounts, are converted to journal entries
9. Linking the payments account: In this particular step, you would have to note that you won’t be able to transfer the existing payments to QuickBooks Online, rather you would have to create a new one.
10. Adding users: It is very much essential to keep in mind that the users you wish to add in QuickBooks Online, should have proper access. Moreover, you can also view the current users by opting for the settings gear icon and the manager users tab respectively.

11. Inviting an accountant: You can call upon up to two of the accounts, so as to work along with you in the QuickBooks Online company.

Conclusion
After reading this blog you should be able to move your data file from QuickBooks Desktop to QuickBooks Online. As always, if you have any concerns, please connect our QuickBooks Support Team today! They work round the clock to provide the best possible QuickBooks Desktop Support Services. So, do not hesitate in calling us anytime and seeking for assistance! We will be more happy to help you.
Related Articles:


